-50%
Download this product and get 50 pts
Image Warper (Bring Images To Life!)
$9.98$19.95-50%
Bring images to life!
0 People Want This Deal
 for PC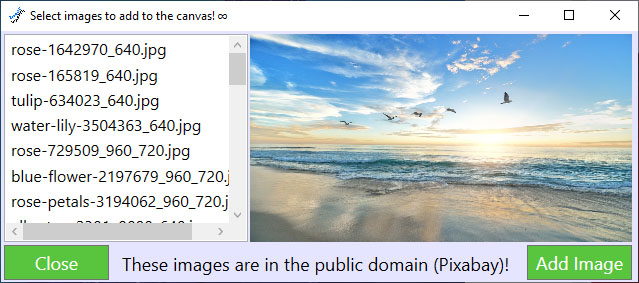
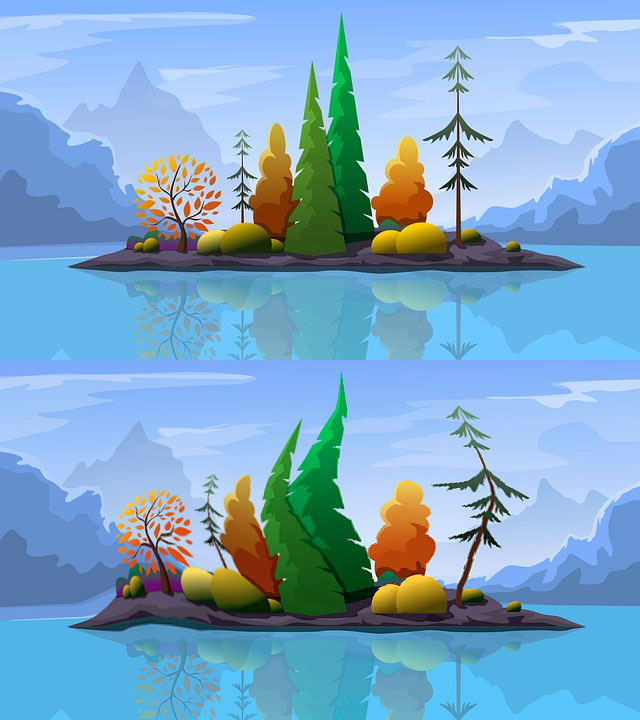
-
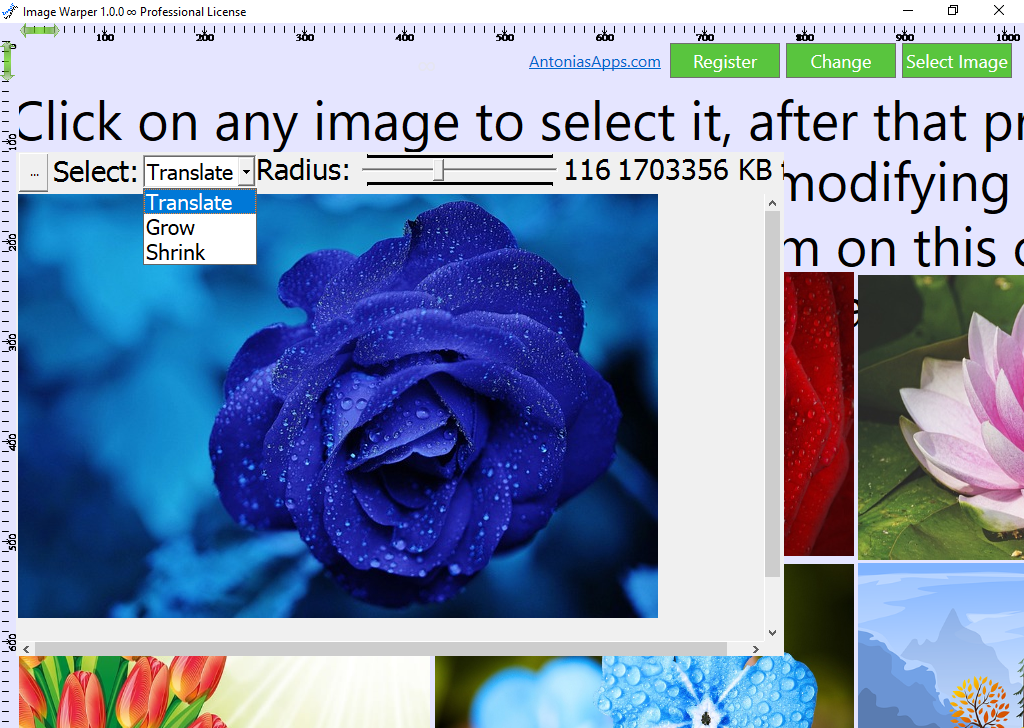
The Image Warper application allows applying three transformations for any image you can load on the canvas:
- 1. Translate: this means moving parts of the image in any direction you want.
- 2. Grow: this means growing parts of the image thus making those parts look bigger.
- 3. Shrink: this means shrinking parts of the image thus making those parts look smaller.
-
The following shortcuts are important for using the application:
- LEFT CTRL key + W key. After clicking an image, this shortcut will allow you to start seeing the image warper view for the last clicked image. Clicking again LEFT CTRL key + W will take the image from the image warper view and will put it in the image container on the canvas and will also hide the image warper view for that image.
- LEFT CTRL key + R key. After clicking an image, this shortcut will allow you to start seeing the image warper view for the last clicked image. Clicking again LEFT CTRL key + R will NOT take the image from the image warper view and will NOT put it in the image container on the canvas. But this shortcut will also hide the image warper view for that image.
- LEFT CTRL key + U key. After clicking an image, this shortcut will allow you to start seeing the image warper view for the last clicked image but the image in the image warper view will have the same size of the image seen before pressing this shortcut. Clicking again LEFT CTRL key + U will NOT take the image from the image warper view and will NOT put it in the image container on the canvas. But this shortcut will also hide the image warper view for that image.
-
Here are some of the features of the Image Warper application:
- - drag and drop external images on the canvas to apply the three transformations on those images.
- - paste external images from Clipboard.
- - duplicate the image just by double clicking it.
- - resize the image by pressing one of the CTRL keys and then grabbing the image with the mouse and dragging the mouse, as you drag the mouse, the size of the image will be updated based on the direction of where the mouse is moving.
- - rotate the image by pressing one of the SHIFT keys and then clicking the image. If you press the LEFT SHIFT key and click the image, the image will rotate to the left. Similarly, if you press the RIGHT SHIFT key and click the image, the image will rotate to the right.
- - filter the image using several image filters. Notice the Quick Filters and Image Filters With Preview menu options when you right click the image.
- - change the opacity of the image by pressing LEFT CTRL key + A (lowers opacity of the selected image) or LEFT CTRL key + Q (increases opacity of the selected image)
- - move the image using the: W, A, S, D key (before moving the image using these keys, you have to click on the image first, to select it) deleting the image just by pressing the DEL button on your keyboard
Also, using the the Image Warper application you can work with any number of images on the canvas by resizing, rotating, duplicating, deleting and changing the opacity of those images. This way you could create a final image from multiple individual images.
Bringing Images To Life
-
While the image warper view is visible, you can obtain different effects if you select a big enough radius and then click on the image and (while keeping the mouse button pressed) move the mouse slightly around. Here are the three examples of effects you can get by using the three transformations:
- 1. Selecting the Translate transform: you can use this to make parts of images move. Just click on the image and while keeping the mouse button pressed, move the mouse slightly to the left and then to the right. This will give the impression that that part of the image (under the radius) will move.
- 2. Select the Grow transform: you can use this to make parts of images grow and also to revert back to their initial state. Just click on the image and while keeping the mouse button pressed, move the mouse slightly around the image. As you move it, the parts under the circle (defined by the radius) will start to grow and will revert to their initial state as the center of the circle is getting farther from those parts. When the center is far enough from those parts, those parts of the image will have reverted to the original size.
- 3. Select the Shrink transform: do the same as for the Grow transform by clicking the mouse and while keeping it pressed, move it slightly around.
Please notice that to create these videos below, a third party screen recorder was used.
to leave a comment.
Rate this product and tell others what you think